Wednesday, 9 December 2015

Floor and grass textures


Floor and Grass textures.


Grass.


In the image above is the foliage I created in one of are workshops. for some reason my grass looked like ghost grass (was see through).


I fixed the grass problem I was having by loading the texture back up in Photoshop and creating a new Alpha channel. this seemed to fix the problem I was having. see above.


once I was happy with it I imported it into unity. for some reason the texture didn't show the transparent part of the texture like it did in Maya. after a while of searching I would in the object menu that I needed to change the object type to fade. after doing this the background of the grass turned transparent again.

Floor.


I wasn't happy with the floor that I created in the workshop as for some reason the textured were stretching no matter how much I tried to fix the problem. also when ever I moved the texture into unity it would show up as a large black tile. so in the end I found a grass, mud and rock texture from google images that fit with the theme and placed them into photo shop. I put them on three different layers and just used the rubber tool on 50% opacity to simulate the same effect. 

At this point my battle arena was modelled and textured ready to finish in unity.


Finished arena without textures.


Finished arena with textures.


Arena Object Creation.


Arena Object Creation.

I am Very new to modelling so this wasn't the easiest task for me but once I got going I started to have a lot of fun. here are the outcomes I came up with below.


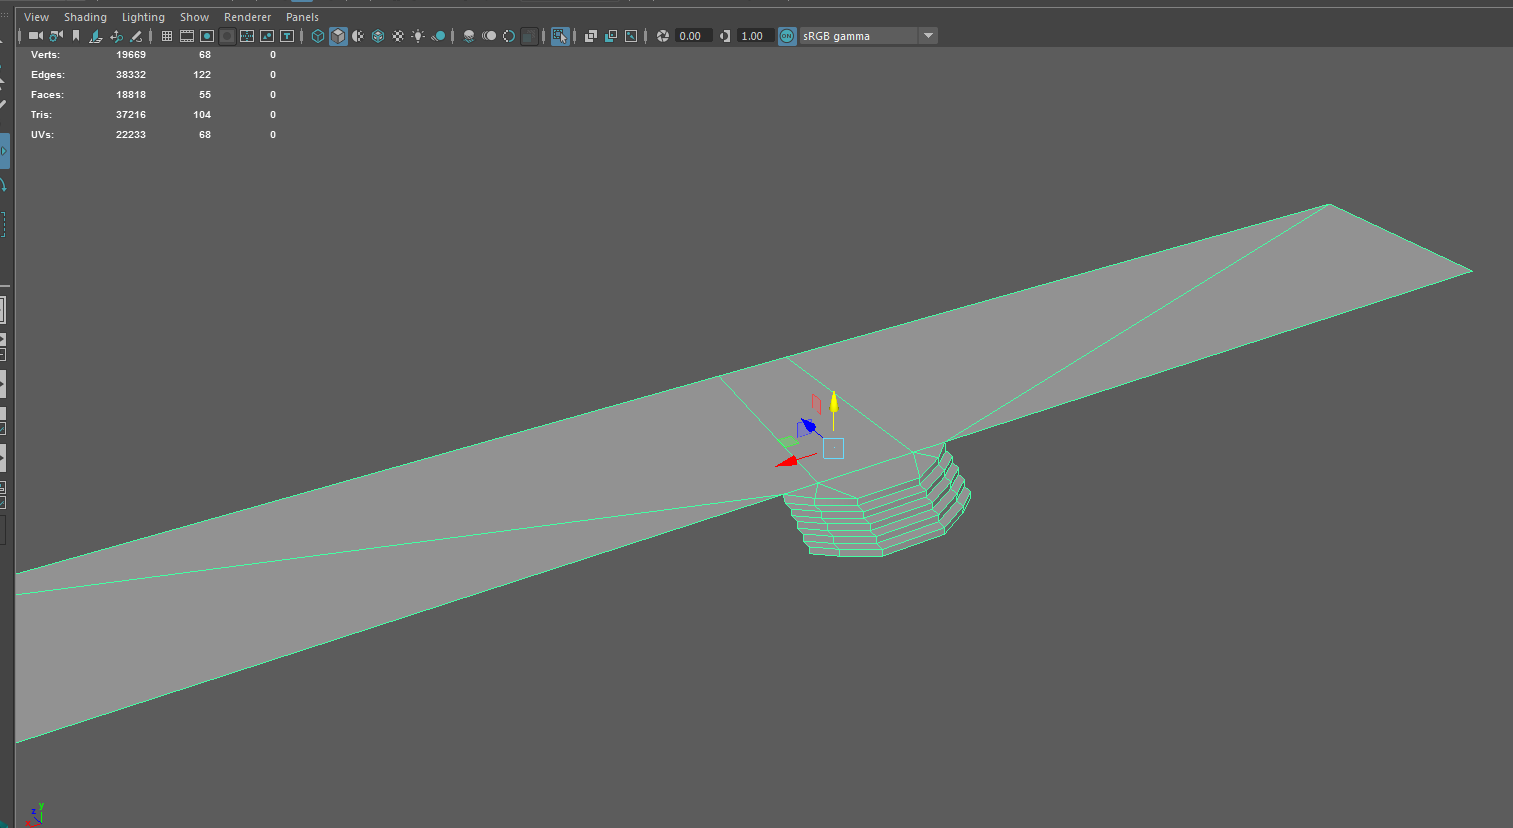
I wanted to create stone objects that would act like a small fireplace/torch. the object shown on the left in the image above was my first attempt at this. I was very confused as to why the faces on it didn't show on by sides but then I realised I didn't give it any thickness. so I started again. this time I extruded the faces out instead of doing it by the edges.


I then created two different shaped crates, small stone pillar like object, a wall, wooden spikes and a barrel that I created from a workshop earlier in the term. Seen above.


I then textured these objects. the wooden spikes I painted by hand in Photoshop. I also wanted all the stone by hand seen in the image above. the creates and barrel texture was based on a world of Warcraft blank texture I sourced from google images but I placed it into Photoshop and painted over it adding my own parts


I then created the platform that the players would spawn on.


I added a texture I sourced from google images that seemed to match the style I was looking for.


I created this ground texture in a workshop we did earlier in the term.


screenshot of what all the objects together would like textured.

Battle Arena statue.


Battle Arena Statue idea.

we were told at the start that we needed to think about leaving room for a statue that we were going to add in at a later date. so here was a quick idea I modelled out so I had a understanding of scale and shape for when I was creating my arena.


Most statues you see are of historical famous people but I wanted to have a statue of a beast. My arena is set in a fantasy land with magic so maybe this beast is worshiped by the people who run the battle arena.
I started out by just blocking out  the shape I wanted the beast statue to be.


I didn't have to texture the statue this term but I thought the arena would look a bit rubbish if I spend time texturing and modelling the rest for there to be a quickly blocked out state in the middle. So I spend a little bit more time modelling a statue to place into the arena. Im still not happy with it but for what I need to use it for I thought it was perfect.

Battle Arena Rocks


Battle Arena rocks.

I wanted my arena surrounded by Cliff faces/large rock formations. Below are the steps I took in creating these rocks.


I first started out with a cube and then extruding its faces intill I was happy with the shape. I then used the sculpt tool to start molding it into more of a rock shade. the outcome of this is shown in the image above.


I then started to delete all faces that would not be seen by the player.


I then reduced the number of faces so it would run better once put into unity.


I felt like I could still reduce the number of faces. after I was happy with that I was ready to add the texture.


Finished rock with texture ready for the battle arena.

Battle Arena Layout


Battle Arena Layout.

For my first 3D modelling assignment I was given the task of creating a battle arena.
here are a few screenshots of where I started and what I ended up with.


Images for mood-board scoured from google images. 


I first started by grey boxing the arena from an idea I had in my head. I wanted to do it in the style of \blizzard games, Would Of Warcraft, Heroes Of The Storm and also the game torchlight 2.


After I was happy with my grey box I then started to model a larger arena, going into a bit more depth. 
After looking at the battle arenas in world of Warcraft I noticed there wasn't a lot of objects in the arena. I liked this as there was more freedom for the player to move around and use the space of the arena to there advantage. so I also wanted to simulate that feeling while still making the arena feel atmospheric.

After I was happy with the whole layout I started to delete all faces on the objects that would not be seen.


Quick Mech Drawing.


Mech Drawing.

I was given a silhouette of a mech and told to fill it in using the 4 colours given to me and an image as a reference point. 


Walk Thought StoryBoard.

 
Walk Thought Storyboard.
 
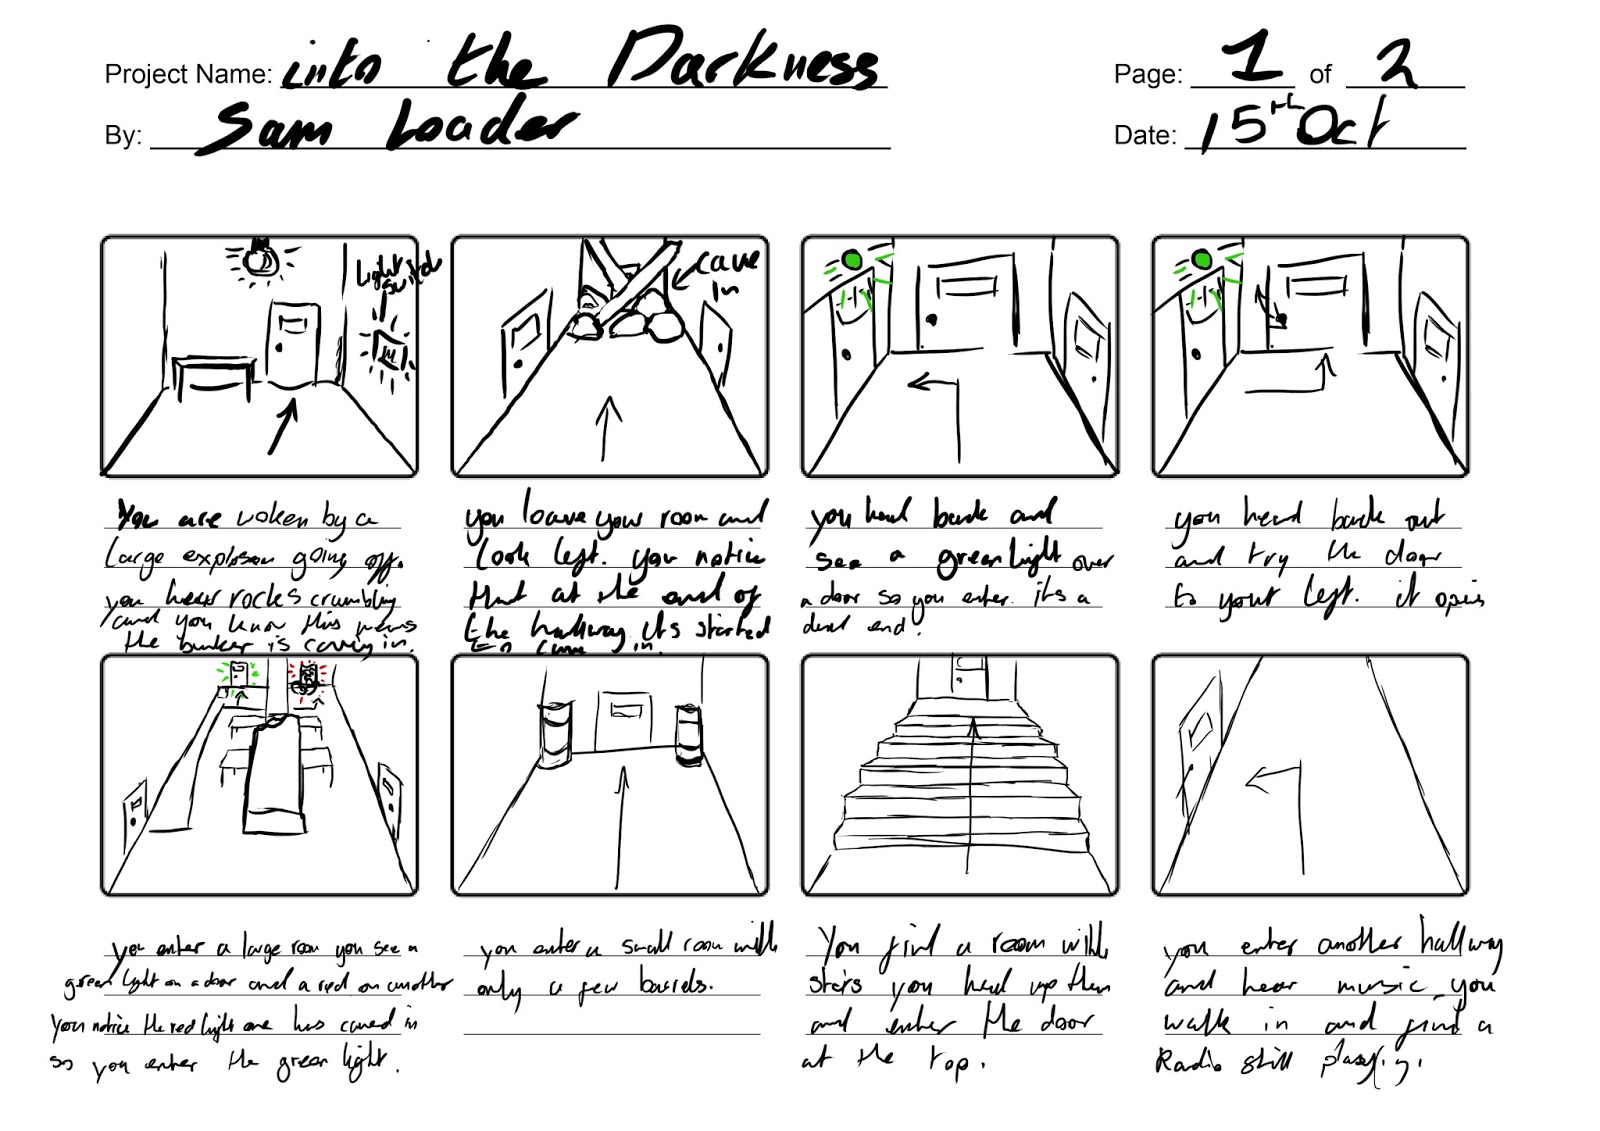
I was given the task of creating a story board of the scene/level I am going to be creating.